GitHub Copilot
Set up VS Code with GitHub Copilot to start AI-ready development with your Buildpad.ai project. Your AI assistant connects directly to your backend so it can understand your data, generate code, and follow your project’s conventions.
Download a ready-to-use starter project for VS Code. It includes your project credentials and backend connections so your AI assistant can access your data and follow your project’s conventions from the start.
Prerequisites
- Visual Studio Code installed on your machine.
- GitHub Copilot extension installed and activated (requires a GitHub Copilot subscription).
- A Buildpad.ai project with a running environment.
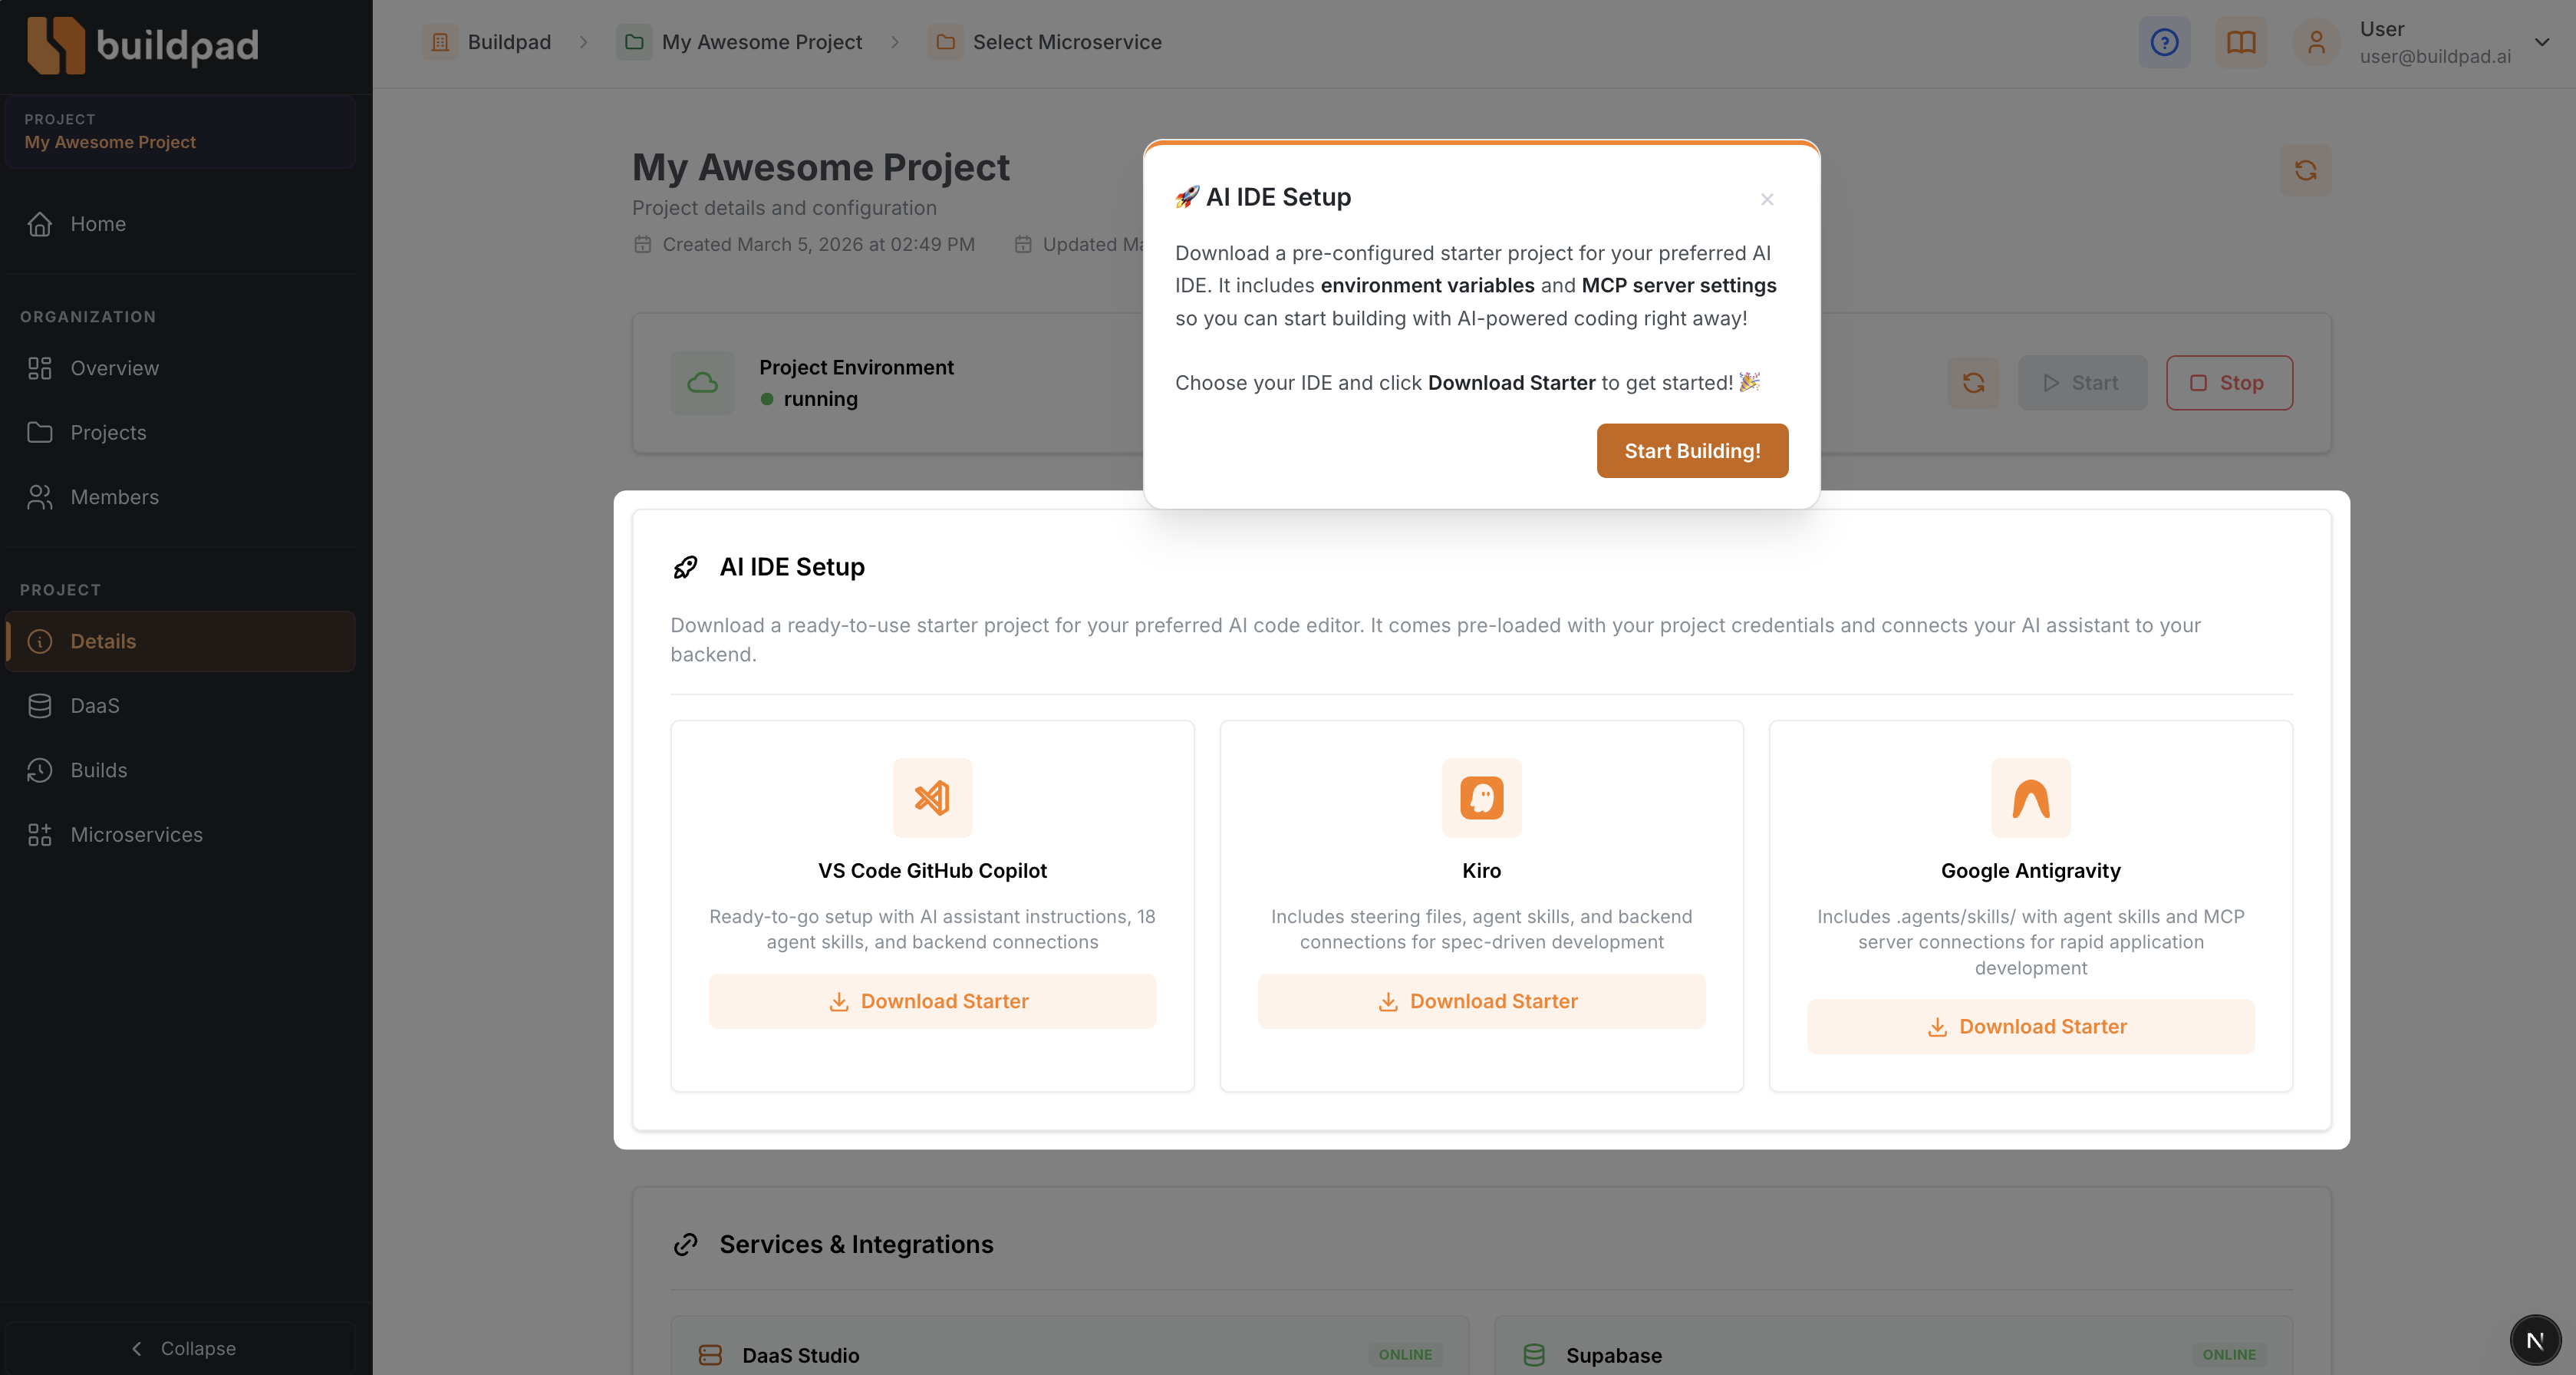
Download the Starter Project
From your project’s Details page in Buildpad.ai, find the AI IDE Setup section and click Download Starter under the VS Code card.
The download contains a ready-to-use project with Copilot instructions, 22 agent skills, and backend connections — everything your AI assistant needs to understand your project and start coding.
Explore the Project Structure
The starter project comes with a rich set of agent skills and backend connections for your AI assistant:
- copilot-instructions.md
Key components:
.github/copilot-instructions.md— Core rules and guidelines that Copilot follows when assisting with your project..github/skills/— 22 agent skills that teach Copilot how to perform tasks like creating API routes, generating tests, scaffolding features, and more. Skills are activated automatically when your request matches what they do..github/templates/— Project templates (minimal, standard, enterprise) for bootstrapping new applications..vscode/mcp.json— Connects your AI assistant to three backend services using the Model Context Protocol (MCP) , an open standard for connecting AI tools to external services.
Configure MCP Servers
The .vscode/mcp.json file connects Copilot to three backend services:
- buildpad — Gives Copilot access to the Buildpad UI component library, API patterns, and platform conventions so it can write code that follows your project’s standards.
- daas — Connects Copilot to your project’s live backend, giving it direct access to your database collections, schemas, and runtime environment for accurate code generation.
- buildpad-platform — Connects Copilot to the Buildpad platform, giving it access to your full project context: organization, project configuration, microapps, and environment URLs.
{
  "servers": {
    "buildpad": {
      "command": "npx",
      "args": ["-y", "@buildpad/mcp@latest"]
    },
    "daas": {
      "type": "http",
      "url": "https://<your-project-id>.daas.buildpad.ai/api/mcp",
      "headers": {
        "Authorization": "Bearer <your-daas-token>"
      }
    },
    "buildpad-platform": {
      "type": "http",
      "url": "https://app.buildpad.ai/api/tools/mcp",
      "headers": {
        "Authorization": "Bearer <your-mcp-token>"
      }
    }
  }
}Your credentials are pre-filled — When you download the starter from the platform, your project’s backend URL and access token are filled in automatically. No manual configuration needed!
Start the Backend Connections
Once you open the project in VS Code:
- VS Code will detect the
.vscode/mcp.jsonand prompt you to start the backend connections. Click Start to activate them. - Alternatively, open the Command Palette (
Cmd+Shift+Pon macOS /Ctrl+Shift+Pon Windows) and runMCP: List Serversto view and manage your connections. - Once running, Copilot can query your database, look up component documentation, and generate code that works with your actual data.
Start Building with AI
With the backend connections active, open Copilot Chat in agent mode and start describing what you want to build. Copilot will use the skills and backend connections to:
- Create projects — Bootstrap a full Next.js application with DaaS integration.
- Scaffold features — Generate CRUD pages, forms, and API routes from your collection schemas.
- Generate tests — Create Playwright end-to-end tests for your application.
- Manage data — Create database migrations, collections, and set up role-based access control.
- Add UI components — Install and configure Buildpad UI packages for forms, tables, and more.
Additional Resources
- VS Code MCP Servers Documentation — Learn more about connecting Copilot to external tools and data sources.
- GitHub Copilot in VS Code — Overview of GitHub Copilot features and capabilities.
- Model Context Protocol — The open standard behind backend connections in AI code editors.