2. Describe Your Data
Every app stores information. Your Event Manager needs to remember things like event names, dates, and who has RSVPed. In Tutorial 1 you wrote the spec; now you’ll run the first three tasks from tasks.md and watch your live backend take shape.
By the end you’ll have:
- An
eventscollection storing each event you create - An
rsvpscollection tracking each registration - Server-side validation hooks that enforce the rules from your spec
Time: About 15 minutes.
Prerequisites
- Completed 1. Plan Your App with AI
- Your Kiro project shows green MCP indicators (buildpad, daas, buildpad-platform)
What’s a collection? Think of it as a spreadsheet tab — each row is one record (one event, one RSVP), and each column is a piece of information (title, date, location). Your AI will set this all up for you.
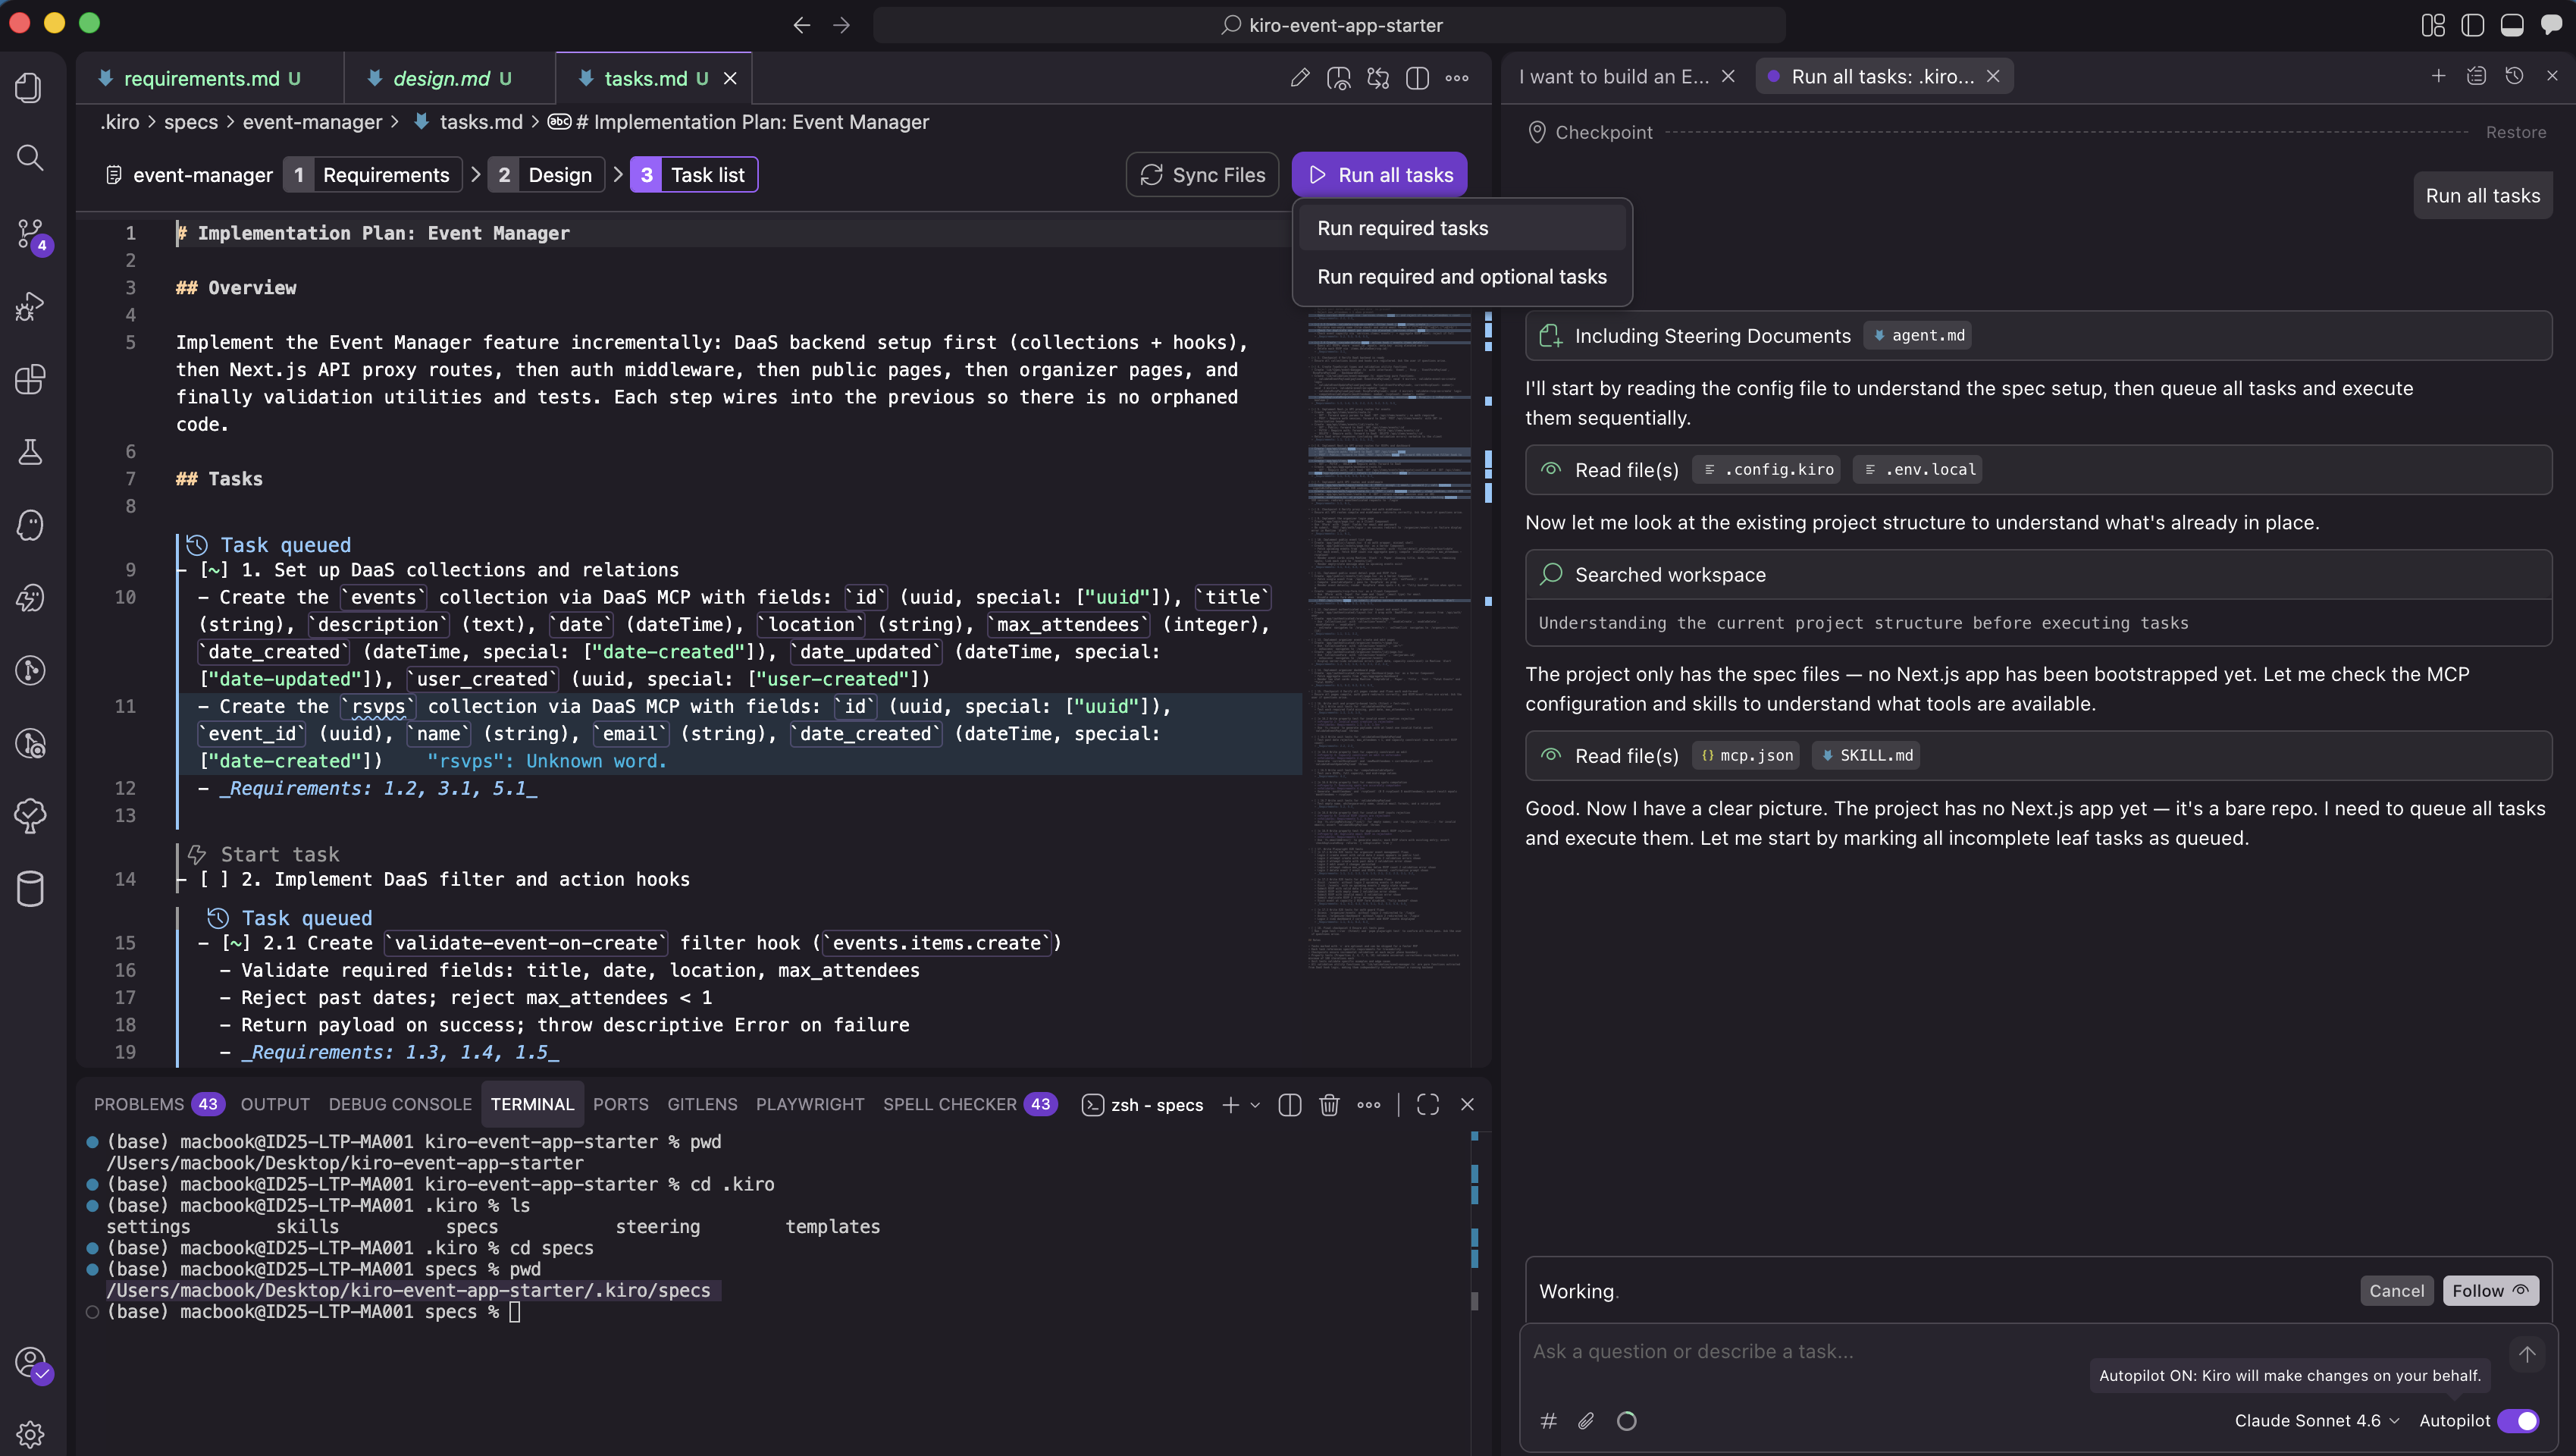
Open Your Tasks File
In Kiro’s file tree, open .kiro/specs/event-manager/tasks.md. This is the build order your AI generated in Tutorial 1.
Above each task you’ll see a Run task button. Above grouping headers you’ll see Run all tasks. You can step through tasks one at a time, or run a whole group.
Heads up: Kiro may ask follow-up questions while running a task. Answer based on the task description, or accept its default — the spec already captures the answers.
Run Task 1 — Set Up Your Collections
Click Run task above Task 1.
Your AI will create two tables on your live backend:
events—title,description,date,location,max_attendees, plus standard bookkeeping (id,date_created,date_updated,user_created)rsvps—event_id,name,email, plusidanddate_created
Wait for Kiro to mark Task 1 complete.
Run Task 2 — Add the Validation Hooks
Click Run task above Task 2. It has four sub-tasks; running the parent runs them all.
Hooks are rules that run on the backend whenever data changes — they can’t be bypassed by clever browser tricks. Your AI is wiring up four of them:
- Validate events on create — reject past dates and
max_attendeesless than 1 - Validate events on update — same rules, plus refuse to shrink capacity below the current RSVP count
- Validate RSVPs on create — require a non-empty name and a real email format, reject duplicate emails for the same event, reject when the event is full
- Cascade-delete RSVPs — when an event is deleted, remove its RSVPs too
Reach Checkpoint 3
Click Run task above Task 3 — the verification gate. Kiro confirms every collection exists and every hook is registered. This is your stopping point for this tutorial.
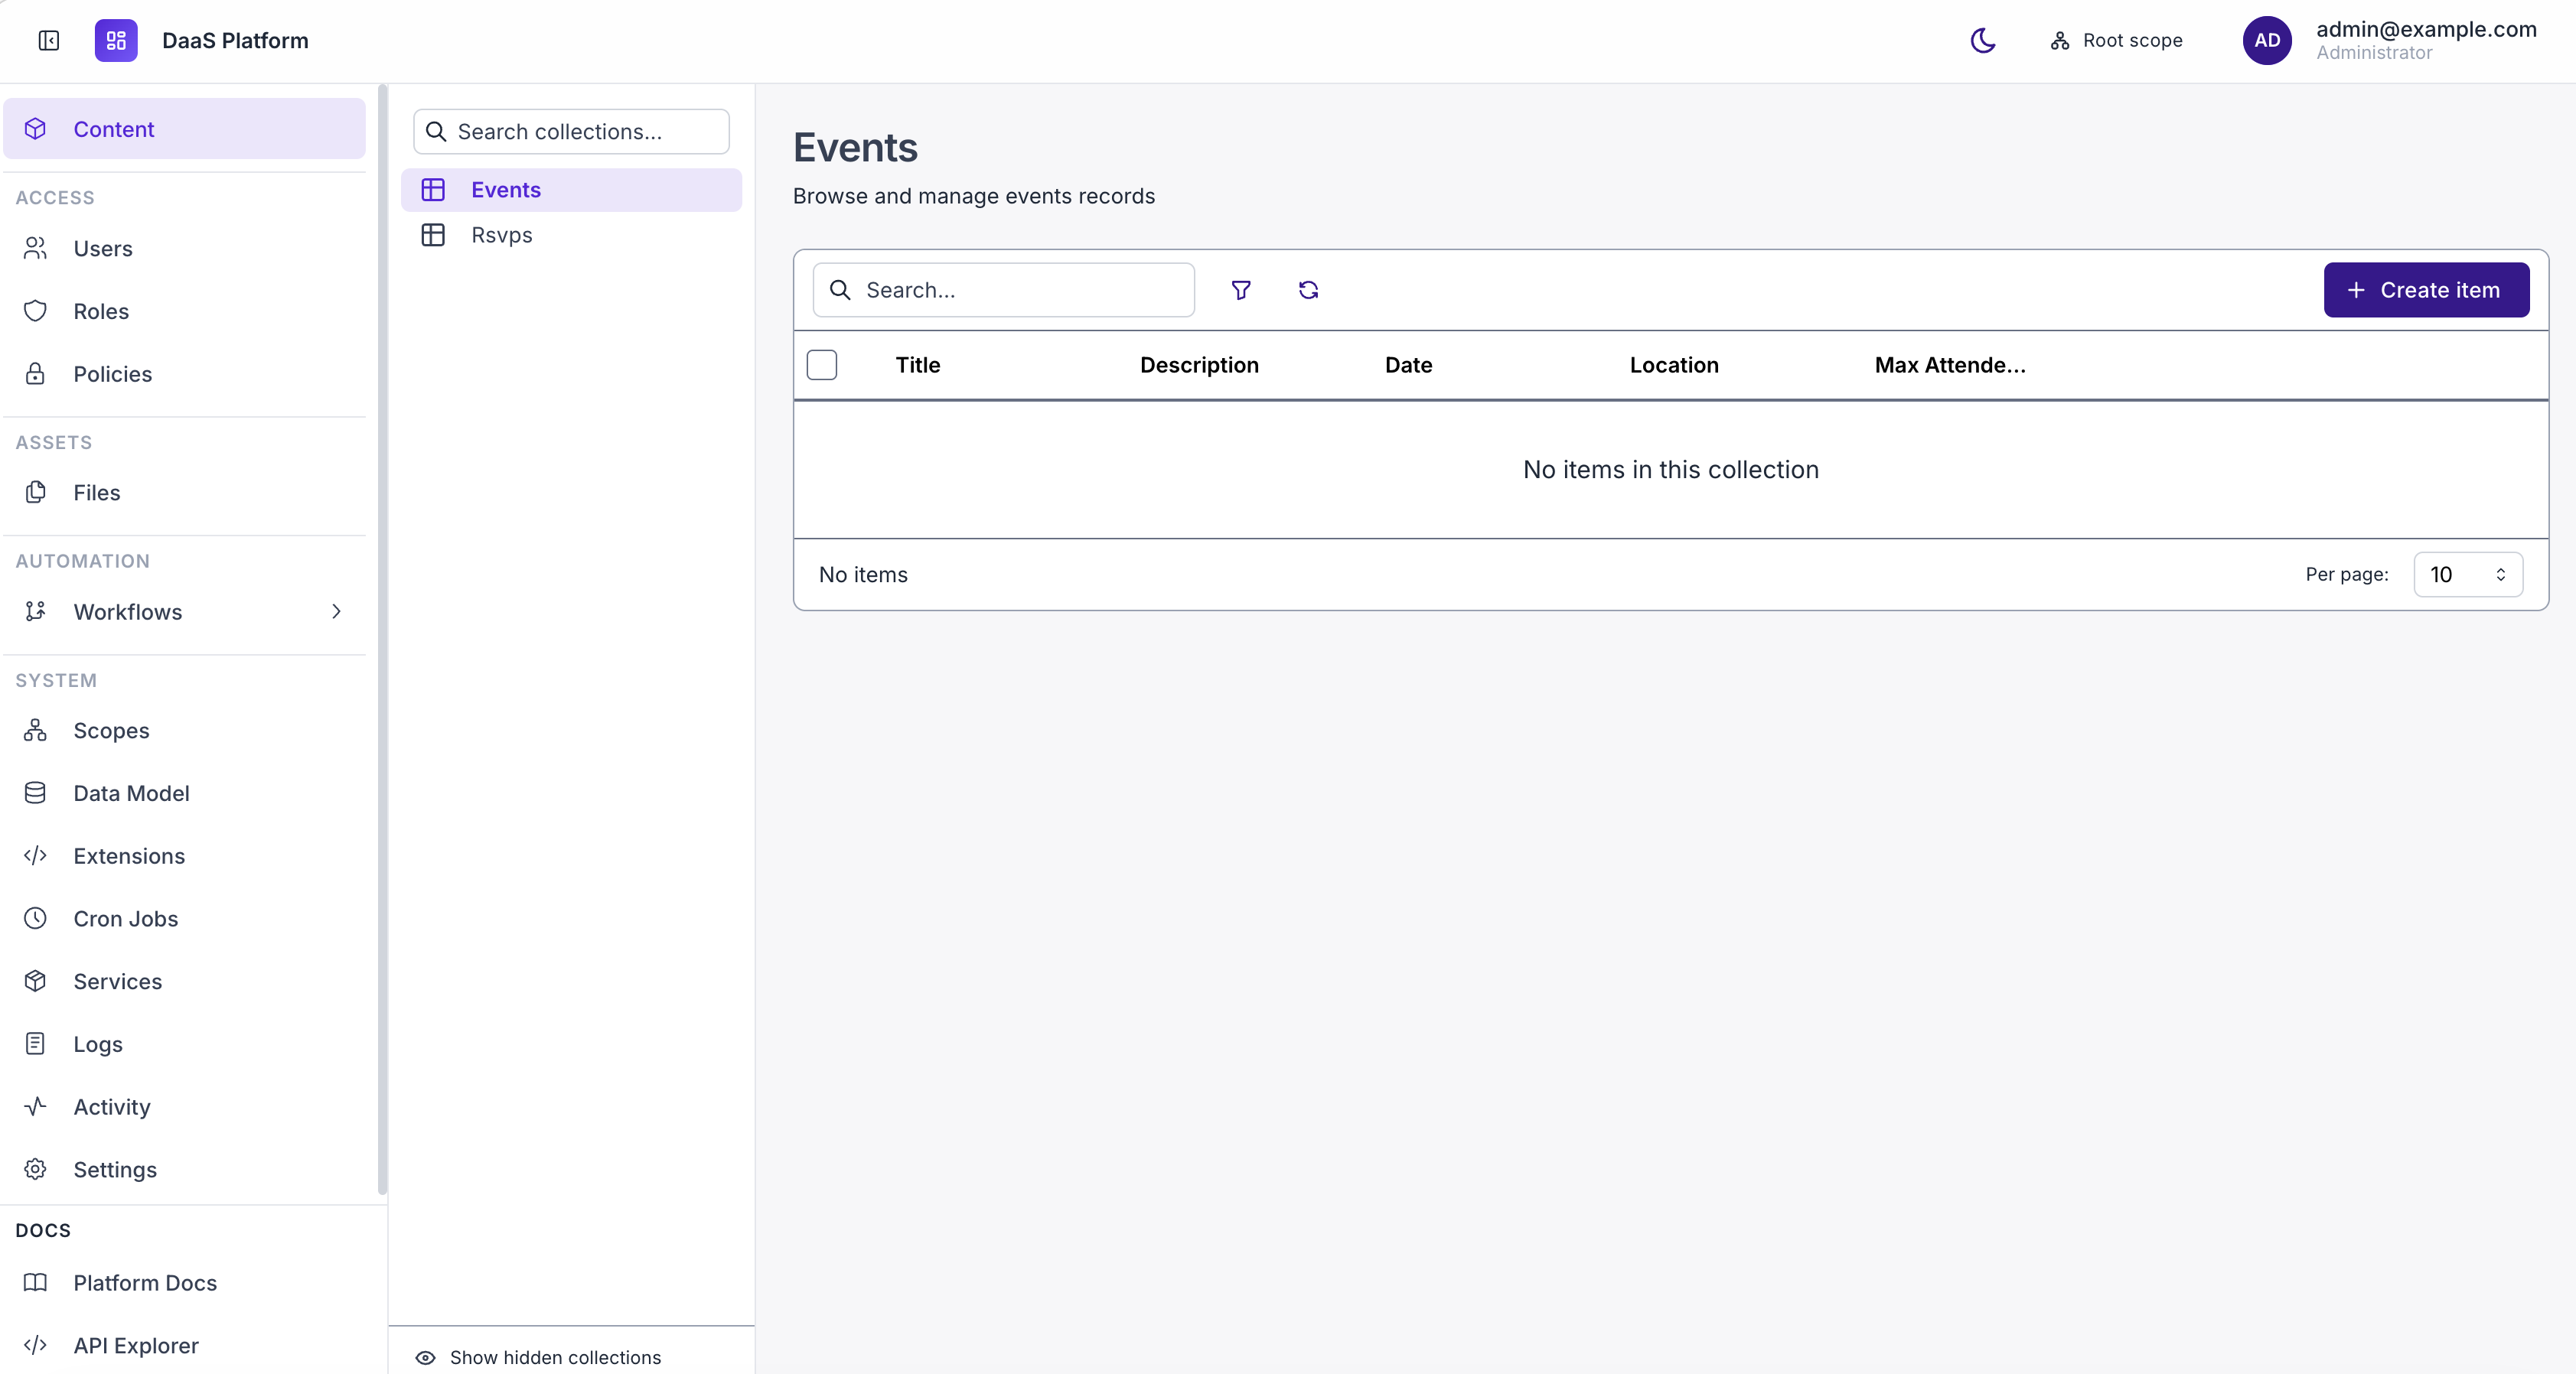
Verify in DaaS Studio
Open your project on app.buildpad.ai , go to Project Details → Services & Integrations, and launch DaaS Studio.
You should see events and rsvps listed in the left sidebar under Collections. Click events to see the fields from Task 1: title, description, date, location, max_attendees, plus the bookkeeping fields. Click rsvps to see event_id, name, email.
What Just Happened?
You ran the first checkpoint of your spec. Your live backend now has:
| What | Where it lives |
|---|---|
events collection | Your DaaS database |
rsvps collection | Your DaaS database |
| 4 validation/cascade hooks | DaaS extensions, running server-side |
Your backend automatically exposes REST API endpoints for both collections — your app will talk to them in the next tutorial.
Peek under the hood (optional)
DaaS stores collection metadata so the API at /api/items/events and /api/items/rsvps is immediately available without writing a single route by hand.
The field types map to real database column types:
title,location,name,email(string) →varchardescription(text) →textdate,date_created,date_updated(dateTime) →timestamptzmax_attendees(integer) →integerid,event_id,user_created(uuid) →uuid
The hooks are TypeScript functions registered against DaaS event triggers (events.items.create, rsvps.items.create, etc.) — they run inside the backend, not in the browser, so the rules can’t be skipped.
What’s Next
Your data layer is live. In the next tutorial, you’ll run Tasks 4–13 — the API plumbing, auth, and every page of your app.