Quick Start
Get started with Buildpad.ai in just a few steps — from signing in to building with your favourite AI-ready IDE.
Buildpad.ai is currently in preview. Access is by invitation only. If you don’t have an account yet, ask your organization admin to invite you.
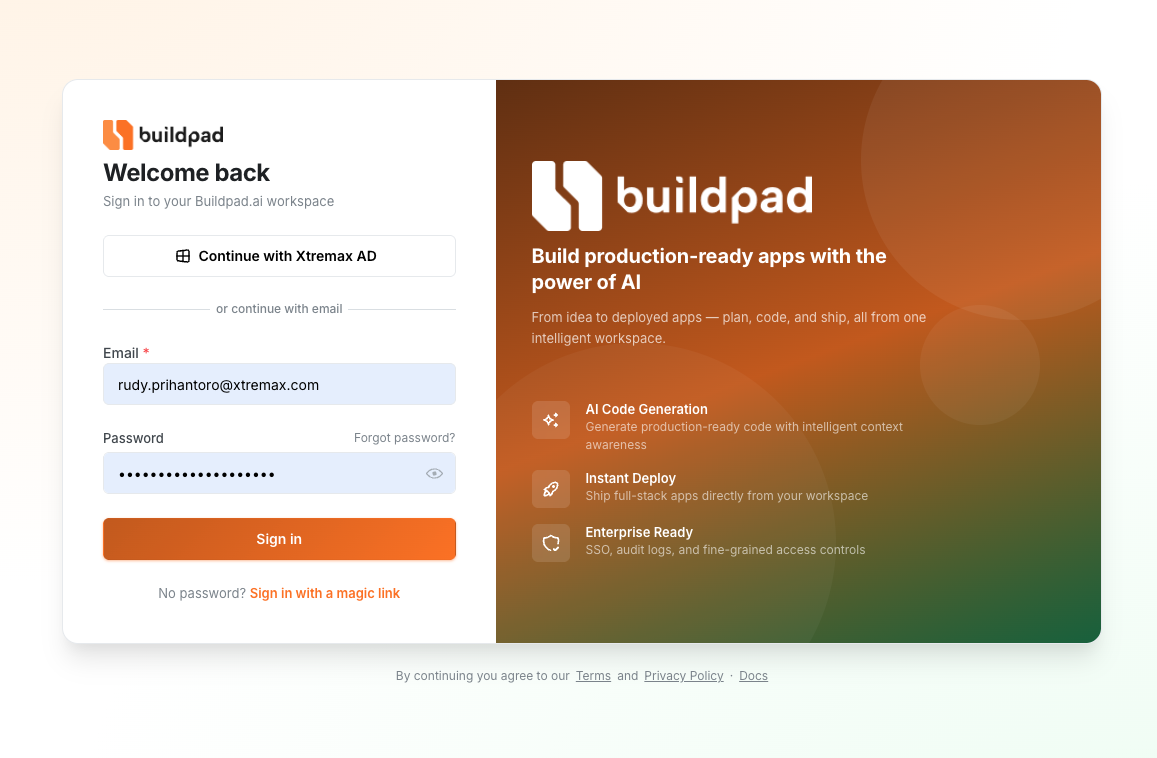
Sign In to Your Account
Visit the Buildpad.ai login page and sign in with your email and password, a magic link, or your organization’s SSO (Xtremax AD). New accounts are created via invitation — check your email for an invite link from your admin.
Create or Join an Organization
Once you’re logged in, you’ll be prompted to create your first organization or join an existing one. Organizations are shared workspaces where your team collaborates on projects. Give your organization a descriptive name (e.g., “My Company” or “Personal Projects”).
Create Your First Project
Inside your organization, click “New Project” to create a project. Enter a project name and optional description. Each project can contain multiple microapps that make up your application.
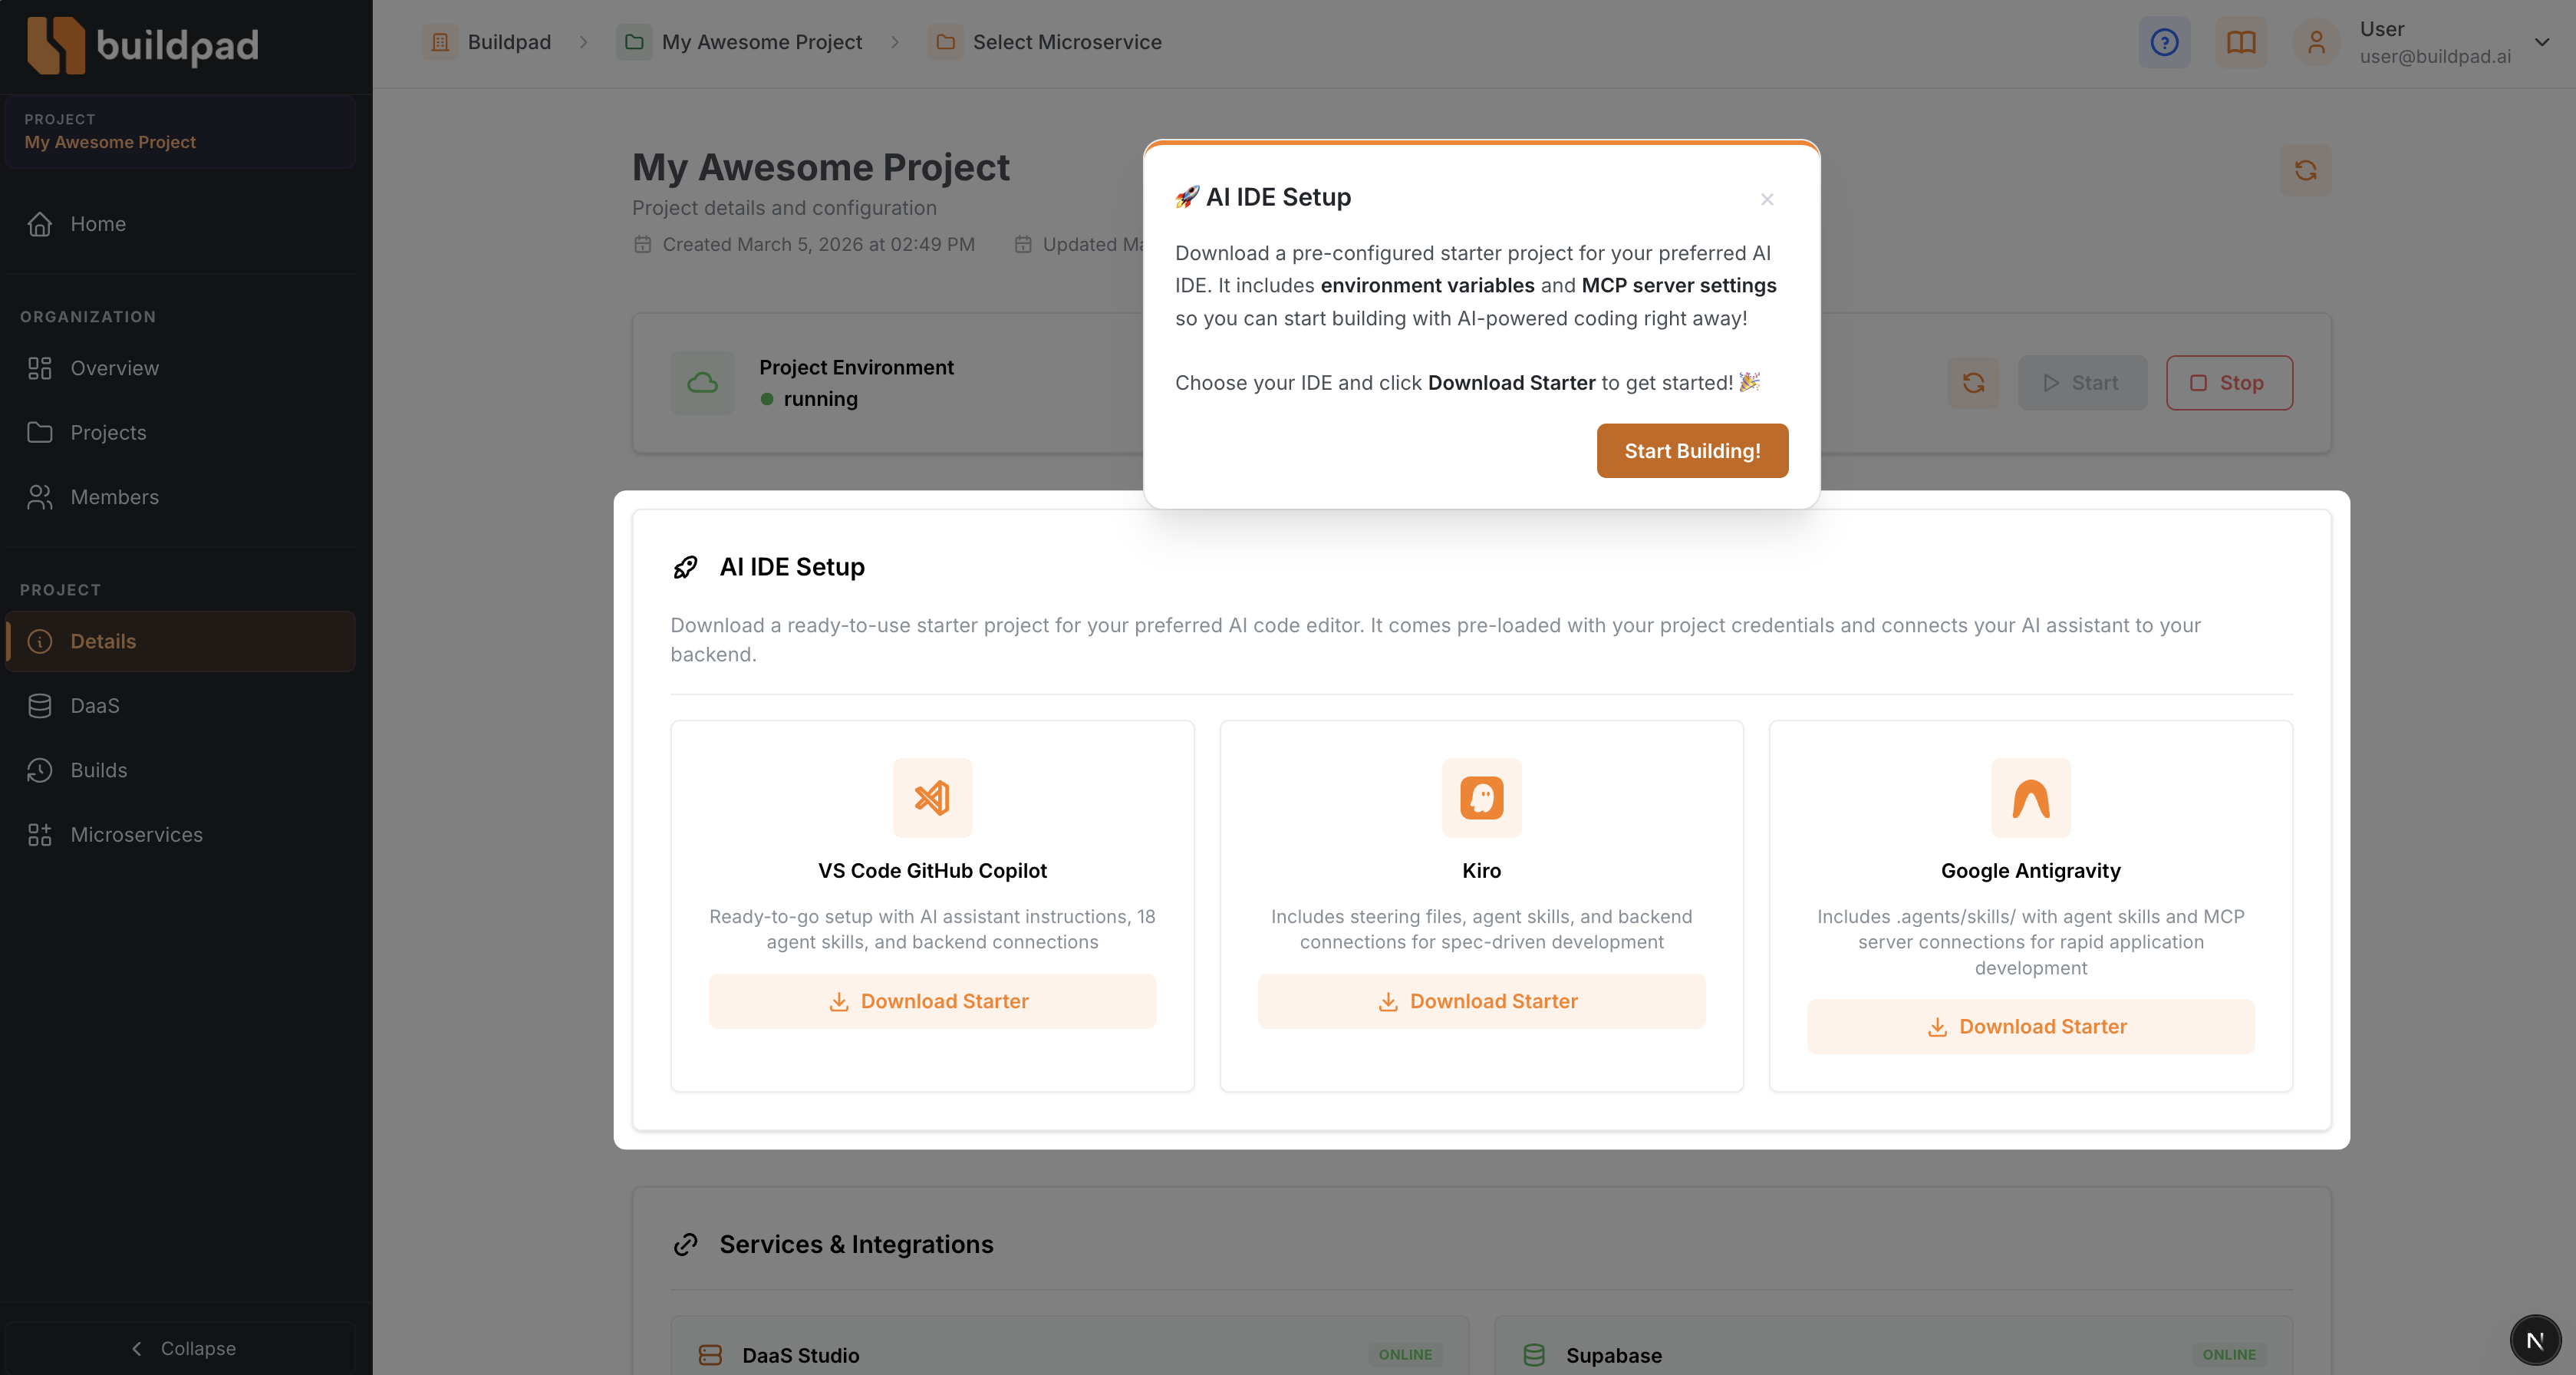
Set Up Your AI IDE
Buildpad.ai integrates with the AI-ready IDEs you already know and love. From your project’s detail page, download a starter project for your preferred editor:
- VS Code with Github Copilot — download the starter and open it in Visual Studio Code with GitHub Copilot or any AI extension.
- Kiro — grab the Kiro-ready starter for spec-driven AI development with steering files and agent skills.
- Google Antigravity IDE — grab the Antigravity-ready starter with agent skills and backend connections.
Each starter comes with your project’s credentials pre-filled and connects your AI assistant directly to your cloud backend — so it can access your data and generate code that actually works with your project.
What’s Next?
- Learn about Organizations to manage your team and roles.
- Explore Projects to understand how to structure your applications.