1. Plan Your App with AI
You don’t need to know how to code to build an app on Buildpad. You describe what you want in plain English, and your AI IDE builds it. This series shows you exactly how.
What you’ll build: An Event & RSVP Manager — a real web app where you can list events, and people can sign up to attend. You’ll be the organizer; your attendees will register through a public page.
By the end of this tutorial you’ll have:
- A Buildpad account with a live backend connected
- An AI IDE (Kiro) open and ready
- Your app idea turned into a reviewed spec —
requirements.md,design.md, andtasks.md— with no code written yet
Time: About 15 minutes.
What is spec-driven development? You describe what you want, Kiro creates a structured plan (requirements, design, tasks), you review each phase, then Kiro implements it. No programming knowledge needed — just clear descriptions of what you want. More detail in Specs-Driven Development.
Create Your Buildpad Account
Go to app.buildpad.ai and sign up for a free account.
Once you’re in, you’ll land on your dashboard. Click New Project and give it a name — something like “Event Manager”. Buildpad will provision a live backend for you automatically.
![]()
Download Your AI IDE Starter
On your new project’s page, click Download Starter and choose Kiro.
You’ll get a .zip file. Unzip it to a folder on your computer — for example, ~/Documents/event-manager.
Don’t have Kiro installed yet? Download it free from kiro.dev and install it like any other Mac or Windows app. It takes about two minutes.
Open the Starter in Kiro
Open Kiro, then go to File → Open Folder and select the folder you just unzipped.
You’ll see a pop-up asking if you trust the folder. Click Yes, I trust the authors — this is your own project.
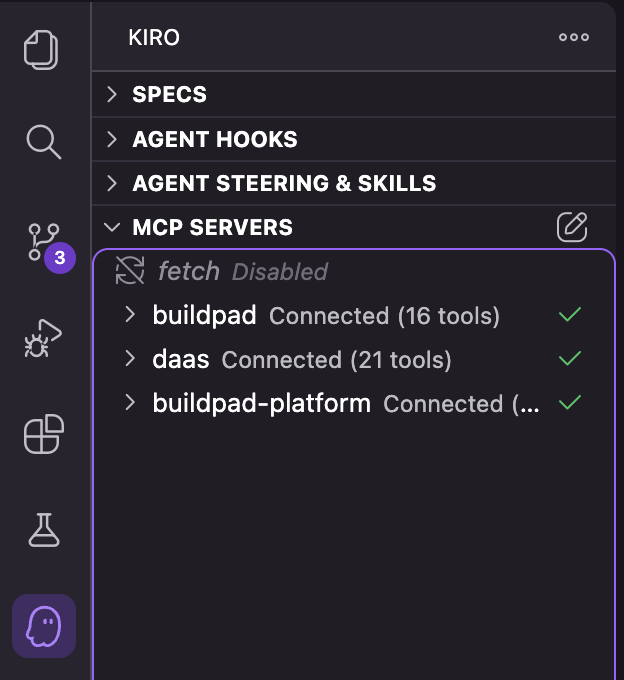
Kiro will automatically detect .kiro/settings/mcp.json and initialize your backend connections. Once enabled, your AI has access to:
- buildpad — Buildpad’s component library, API patterns, and platform conventions
- daas — Your live project backend with database collections and schemas
- buildpad-platform — Your full project configuration, organization, and microapps
If you encounter issues with MCP connections, see AI IDE Setup for troubleshooting.
Create a Feature Spec
In the Kiro pane (the ghost icon in the activity bar), click the + button under Specs.
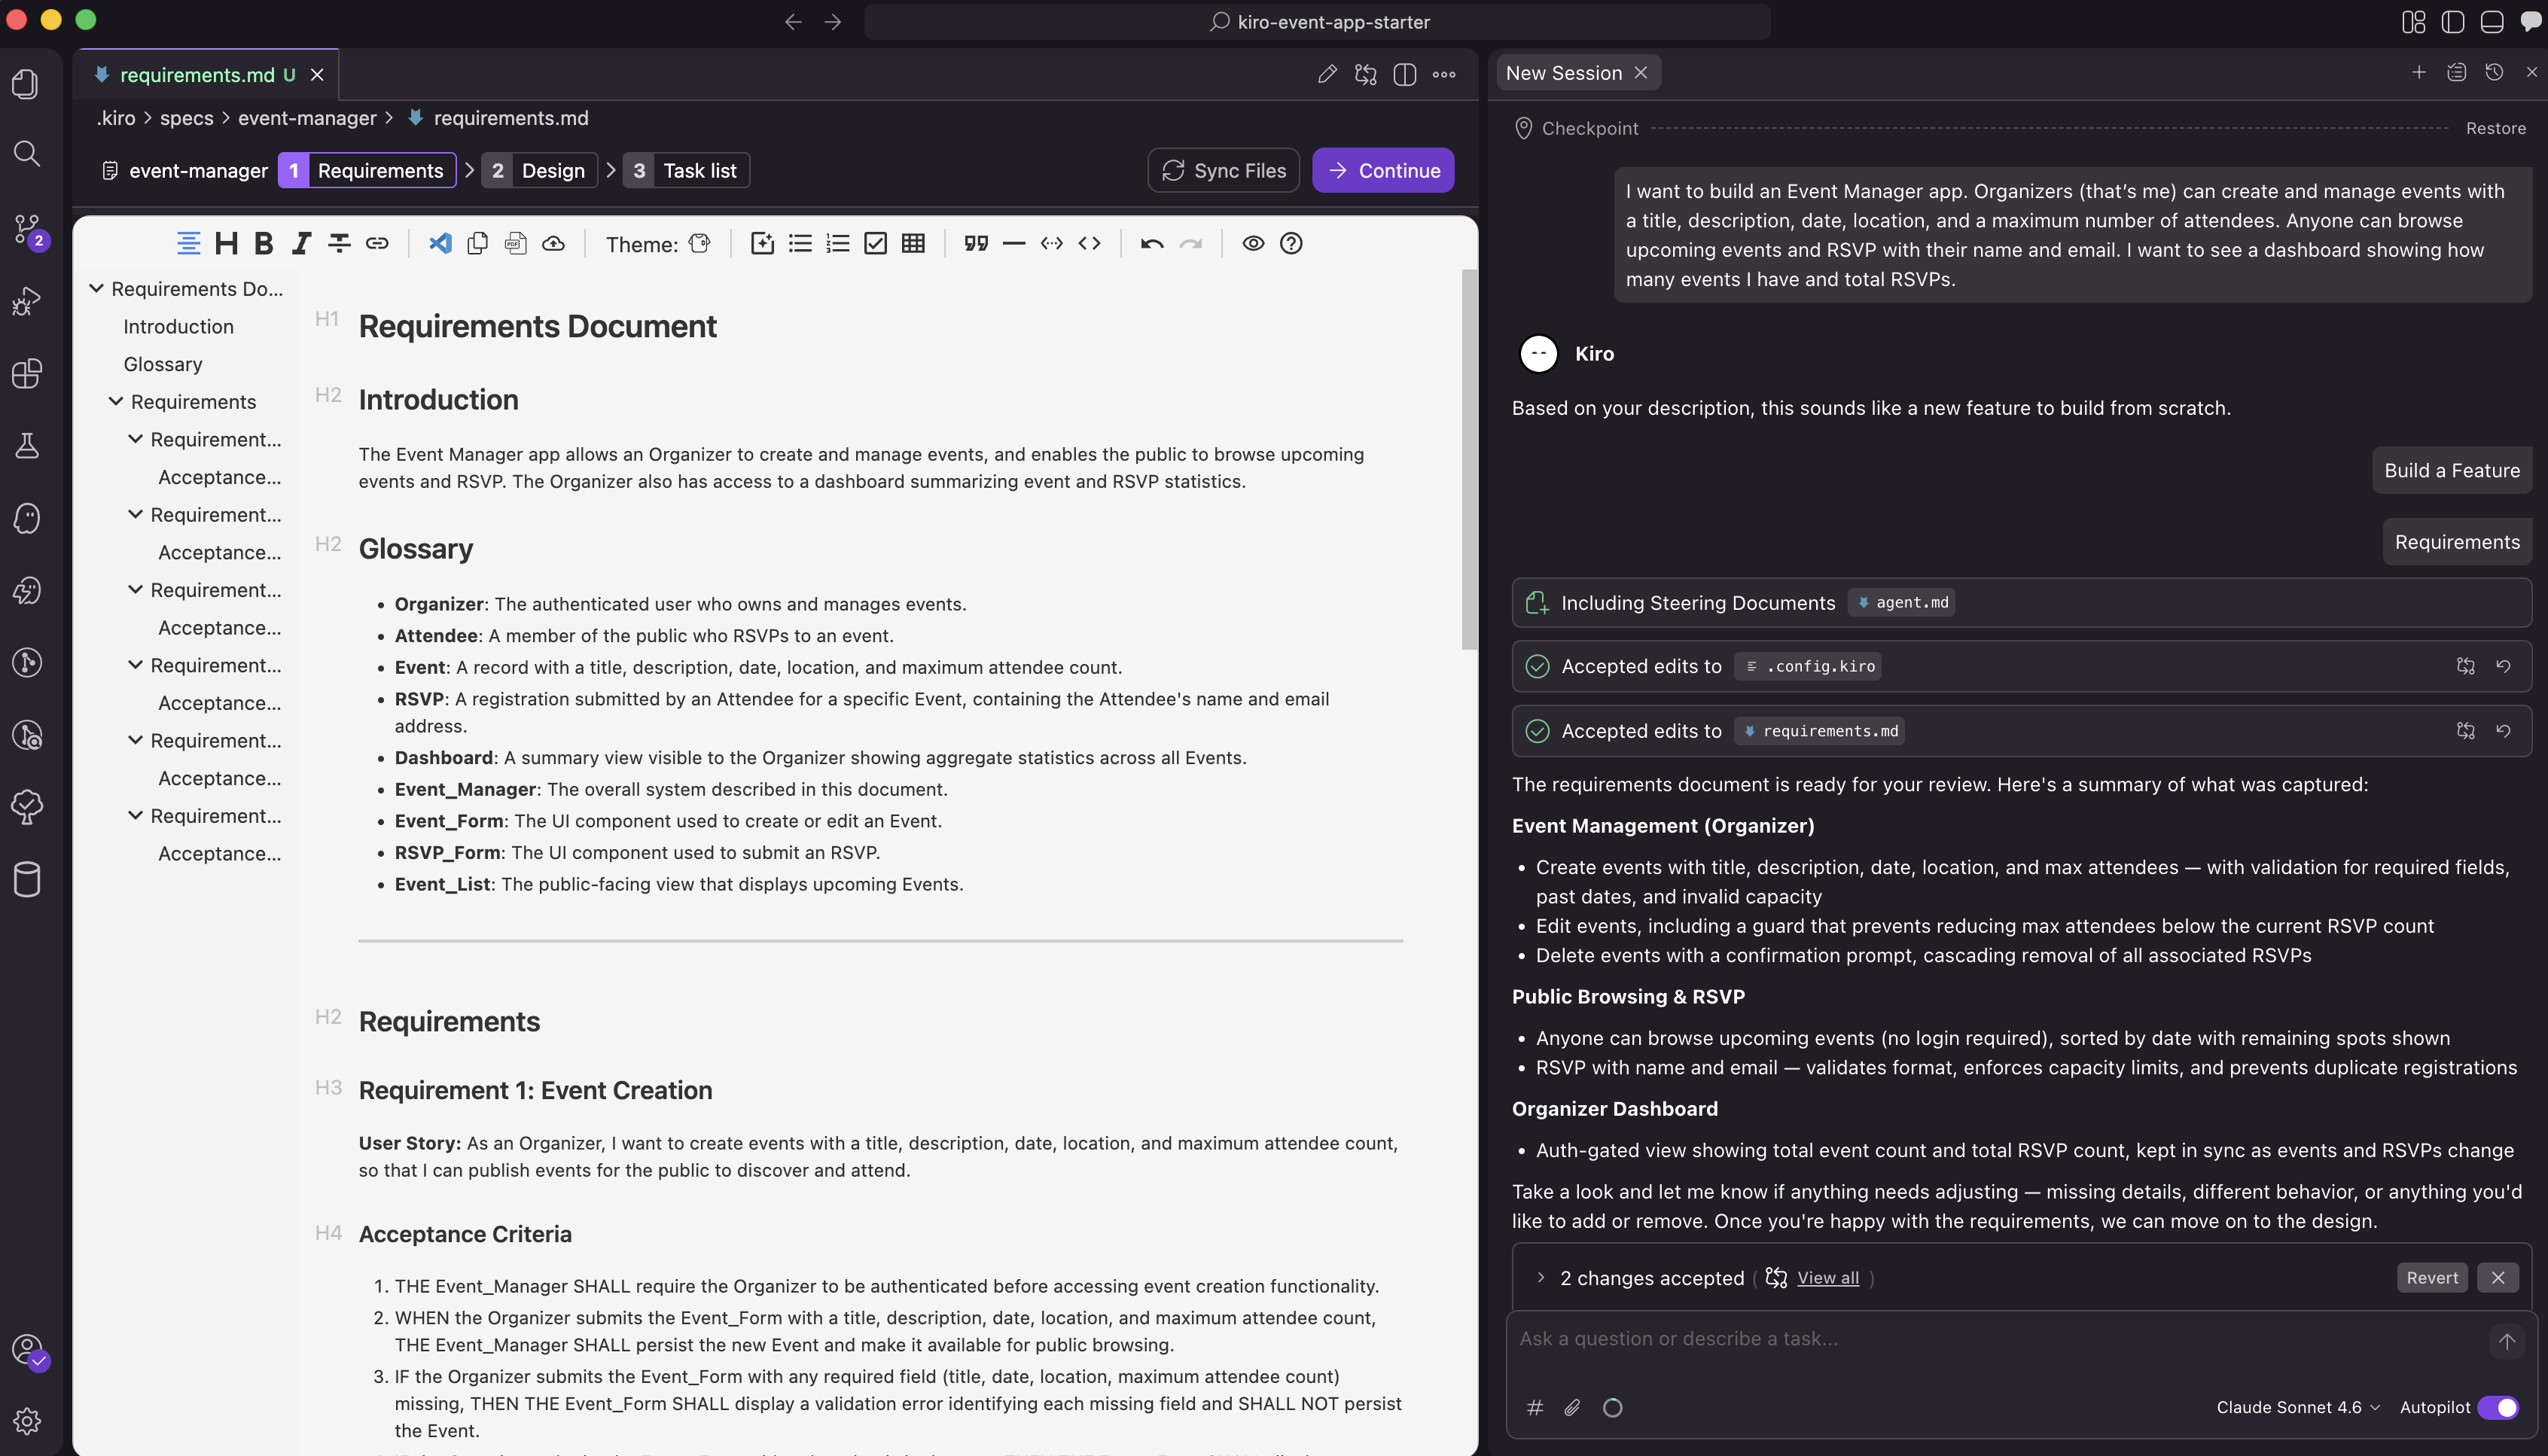
Kiro will ask what you want to build. Describe your app:
Describe your app:
I want to build an Event Manager app. Organizers (that’s me) can create and manage events with a title, description, date, location, and a maximum number of attendees. Anyone can browse upcoming events and RSVP with their name and email. I want to see a dashboard showing how many events I have and total RSVPs.
When asked, choose Feature, then choose Requirements-First as your workflow.
Review the Spec Phases
Kiro’s spec workflow has three phases. You’ll review and approve each one before moving to the next:
Phase 1 — Requirements (requirements.md): Kiro generates a list of user stories and acceptance criteria for your app. Read through them and check they cover:
- An events page (listing events)
- An RSVP form (for attendees)
- An admin area (for you to manage events)
- A dashboard (your overview stats)
If it looks right, tell Kiro to proceed. If something is missing, describe the change and Kiro will update the requirements.
Phase 2 — Design (design.md): Kiro generates a technical design document — the architecture, data models, and how the pieces connect. You don’t need to understand every detail. If it looks reasonable, approve it to move on.
Phase 3 — Tasks (tasks.md): Kiro generates a list of discrete implementation tasks. Review the list to make sure it looks complete and sensible. You don’t need to understand every task — just check that it covers events, RSVPs, an admin area, and a dashboard.
Notice the checkpoints at Tasks 3, 8, and 15 — natural pause points. The next two tutorials run the tasks in order, stopping at each checkpoint, so you can verify each layer before building the next.
AI output varies. Because LLMs are probabilistic, Kiro may generate slightly different specs each time — field names, task groupings, or checkpoint numbering may not match this tutorial exactly. That’s expected. Review the output against your requirements and ask Kiro to adjust anything that doesn’t fit.
What Just Happened?
Your AI produced three documents you can re-read at any time:
requirements.md— the what: user stories and acceptance criteriadesign.md— the how: data models, API shape, page structuretasks.md— the build order: a numbered list of work items, grouped by checkpoint
Nothing has been built yet — that’s deliberate. Spec-driven development means you and your AI agree on the plan before code lands, so you can catch missing pieces while they’re cheap to fix.
What’s Next
Your spec is ready. Time to execute it, one checkpoint at a time. In the next tutorial, you’ll run Tasks 1–3 and watch your live database take shape.