Tutorial 2: Collections & Data Modeling
Every Buildpad app is backed by a DaaS (Data-as-a-Service) backend — a REST API server that manages your PostgreSQL database through structured collections (tables) and fields (columns). In this tutorial you’ll design the data model for the project management app using your AI assistant’s /create-collection skill.
By the end you’ll have:
- Two collections:
projectsandtasks - The right field types for each — from plain text inputs to date pickers and status dropdowns
- A scaffolded list page and form page for each collection (customized further in Tutorial 3)
- The ability to query your data via the DaaS REST API
Prerequisites
- Completed Tutorial 1: Your First App.
- Your dev server is running (
pnpm dev) and your AI MCP connections are active.
DaaS Core Concepts — A collection maps to a database table. Each field maps to a column and has an interface type that determines how it’s displayed in forms and lists. See the DaaS documentation for a full reference.
Create the projects Collection
In Copilot Chat, type:
/create-collectionDescribe the collection to your agent with the following fields:
| Field | Type | Notes |
|---|---|---|
name | input | Required. Short project title. |
description | textarea | Optional. Longer description. |
status | select-dropdown | Values: planning, active, on_hold, completed, cancelled. Default: planning. |
start_date | datetime | Optional. |
due_date | datetime | Optional. |
Audit fields are mandatory. The /create-collection skill automatically adds four Group A audit fields to every collection via MCP: user_created, date_created, user_updated, date_updated. These are required by the platform — the DaaS backend does not add them automatically.
The skill generates:
- A Supabase migration SQL file in
supabase/migrations/(version control reference — no apply step needed) - API route handlers in
app/api/items/projects/ - A collection list page and form page under
app/(authenticated)/content/projects/ - API and page test files in
tests/
DaaS manages the database schema directly when it registers the collection via MCP — by the time the skill finishes, your collection already exists in Postgres and is immediately available at:
GET    /api/items/projects
POST   /api/items/projects
GET    /api/items/projects/:id
PATCH  /api/items/projects/:id
DELETE /api/items/projects/:id
Create the tasks Collection
Run /create-collection again, this time for tasks:
| Field | Type | Notes |
|---|---|---|
title | input | Required. |
description | textarea | Optional. |
status | select-dropdown | Values: todo, in_progress, in_review, done. Default: todo. |
priority | select-radio | Values: low, medium, high. Default: medium. |
due_date | datetime | Optional. |
assigned_to | input | Optional. User ID of the assignee. |
You’ll add the relation that links tasks to projects in Tutorial 6: Relations & Linked Data. For now, keep tasks standalone.
Navigation is not added automatically. The /create-collection skill scaffolds the pages but does not add a nav entry to your sidebar. After both collections are created, add { label: "Projects", href: "/content/projects" } and { label: "Tasks", href: "/content/tasks" } to your app nav config manually.
Verify the Schema via the DaaS API
Use your terminal (or any REST client) to confirm both collections exist and have the correct fields:
Terminal
# Replace with your DaaS URL and token from .vscode/mcp.json
curl -H "Authorization: Bearer <your-token>" \
https://<your-project>.daas.buildpad.ai/api/collectionsYou should see projects and tasks in the response. To inspect fields for a specific collection:
curl -H "Authorization: Bearer <your-token>" \
  https://<your-project>.daas.buildpad.ai/api/fields/tasks
Seed Some Test Data
Create a few items via the DaaS API to use in the next tutorial:
# Create a project
curl -X POST \
-H "Authorization: Bearer <your-token>" \
-H "Content-Type: application/json" \
-d '{"name": "Website Redesign", "status": "planning"}' \
https://<your-project>.daas.buildpad.ai/api/items/projects
# Create a task
curl -X POST \
-H "Authorization: Bearer <your-token>" \
-H "Content-Type: application/json" \
-d '{"title": "Design homepage mockup", "status": "todo", "priority": "high"}' \
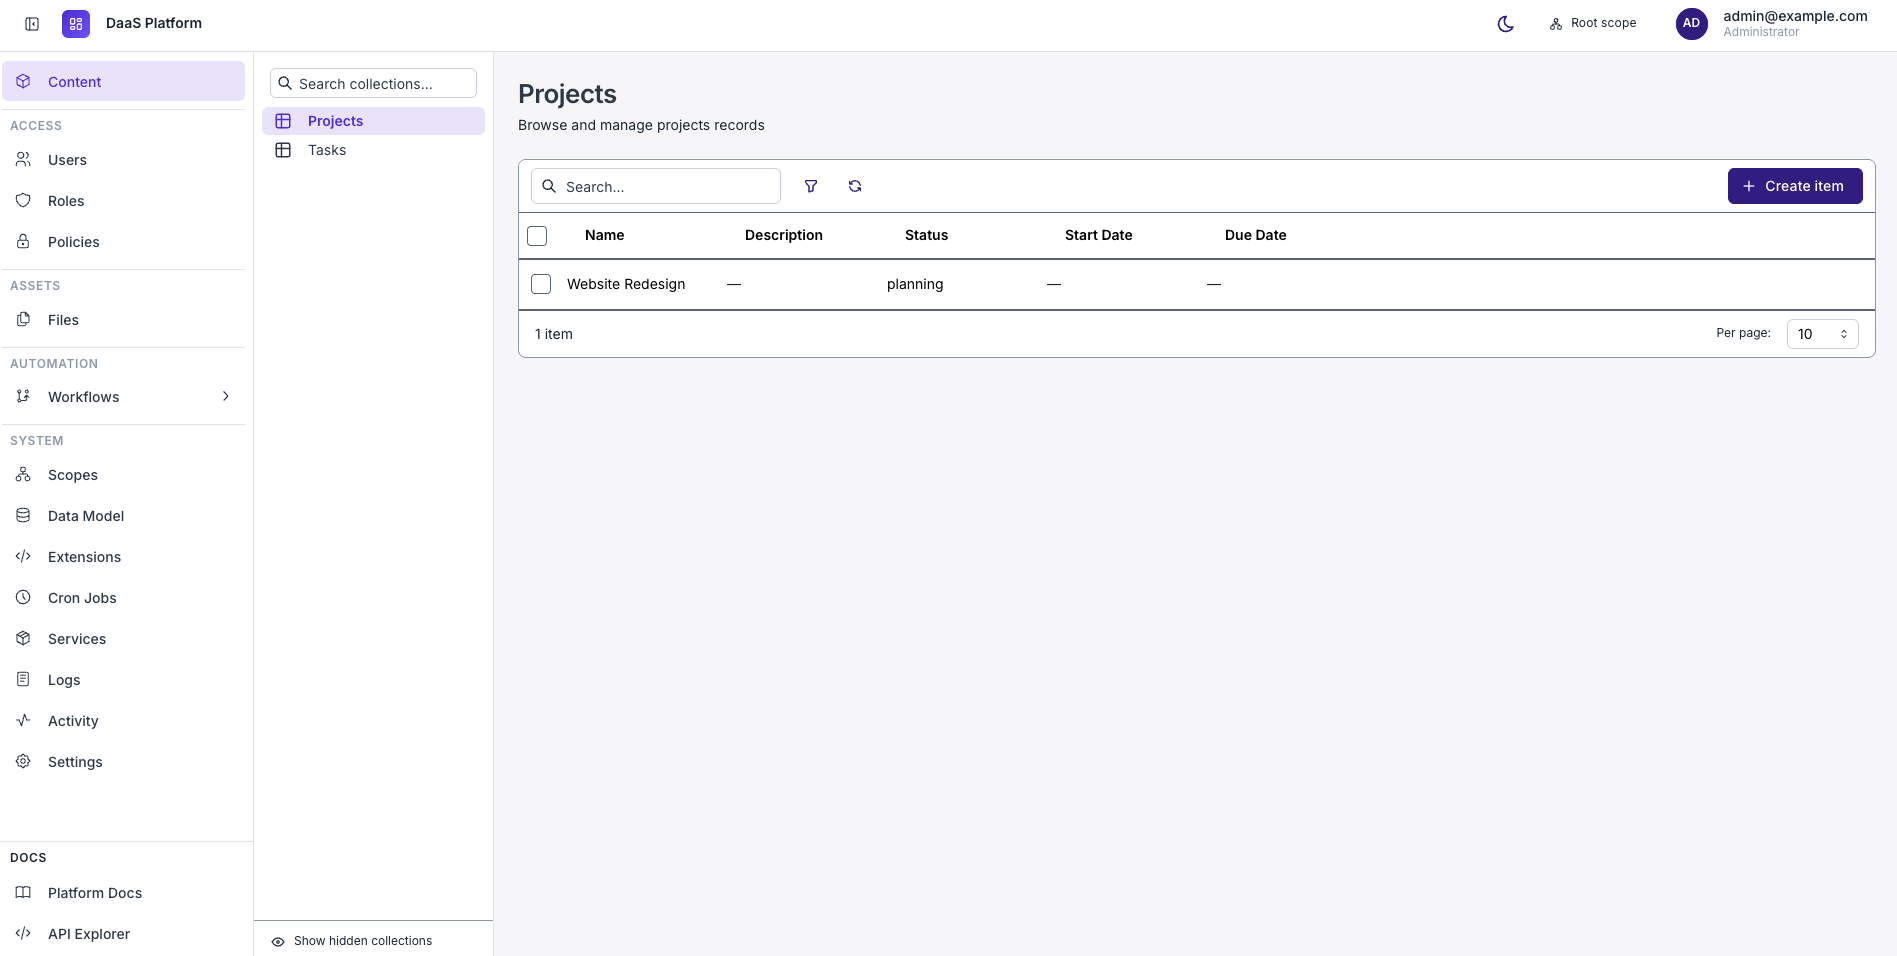
https://<your-project>.daas.buildpad.ai/api/items/tasksBrowse Your Data in DaaS Studio
Open your project’s DaaS Studio (Content menu). You should see both collections listed with the fields you defined, and the seed records you just created.
Understanding Field Interface Types
The interface type you choose for a field determines how it’s rendered in your UI components. Here’s a quick reference for the types used in this tutorial:
| Interface | Use For | Component Installed |
|---|---|---|
input | Short text, names, IDs | input |
textarea | Long text, descriptions | textarea |
select-dropdown | Single choice from a list | select-dropdown |
select-radio | Single choice, visible all at once | select-radio |
datetime | Dates and times | datetime |
The buildpad-ui component library maps every field interface type to a ready-built React component — you’ll install and use them in the next tutorial.
What’s Next
Your database schema is in place. In the next tutorial you’ll build the actual UI — a task list page and a task detail form — using Buildpad’s pre-built collection components.